Coolant Caps
PIONEER Coolant Cap System is available for ER, TG, and SX collet chuck systems.
What is required:
- A cutting tool shank that extends 1/4 in. (6 mm) beyond the collet to provide a sealing surface
- Coolant cap nut
- Coolant cap sized to fit the cutting tool shank
- Coolant cap wrench
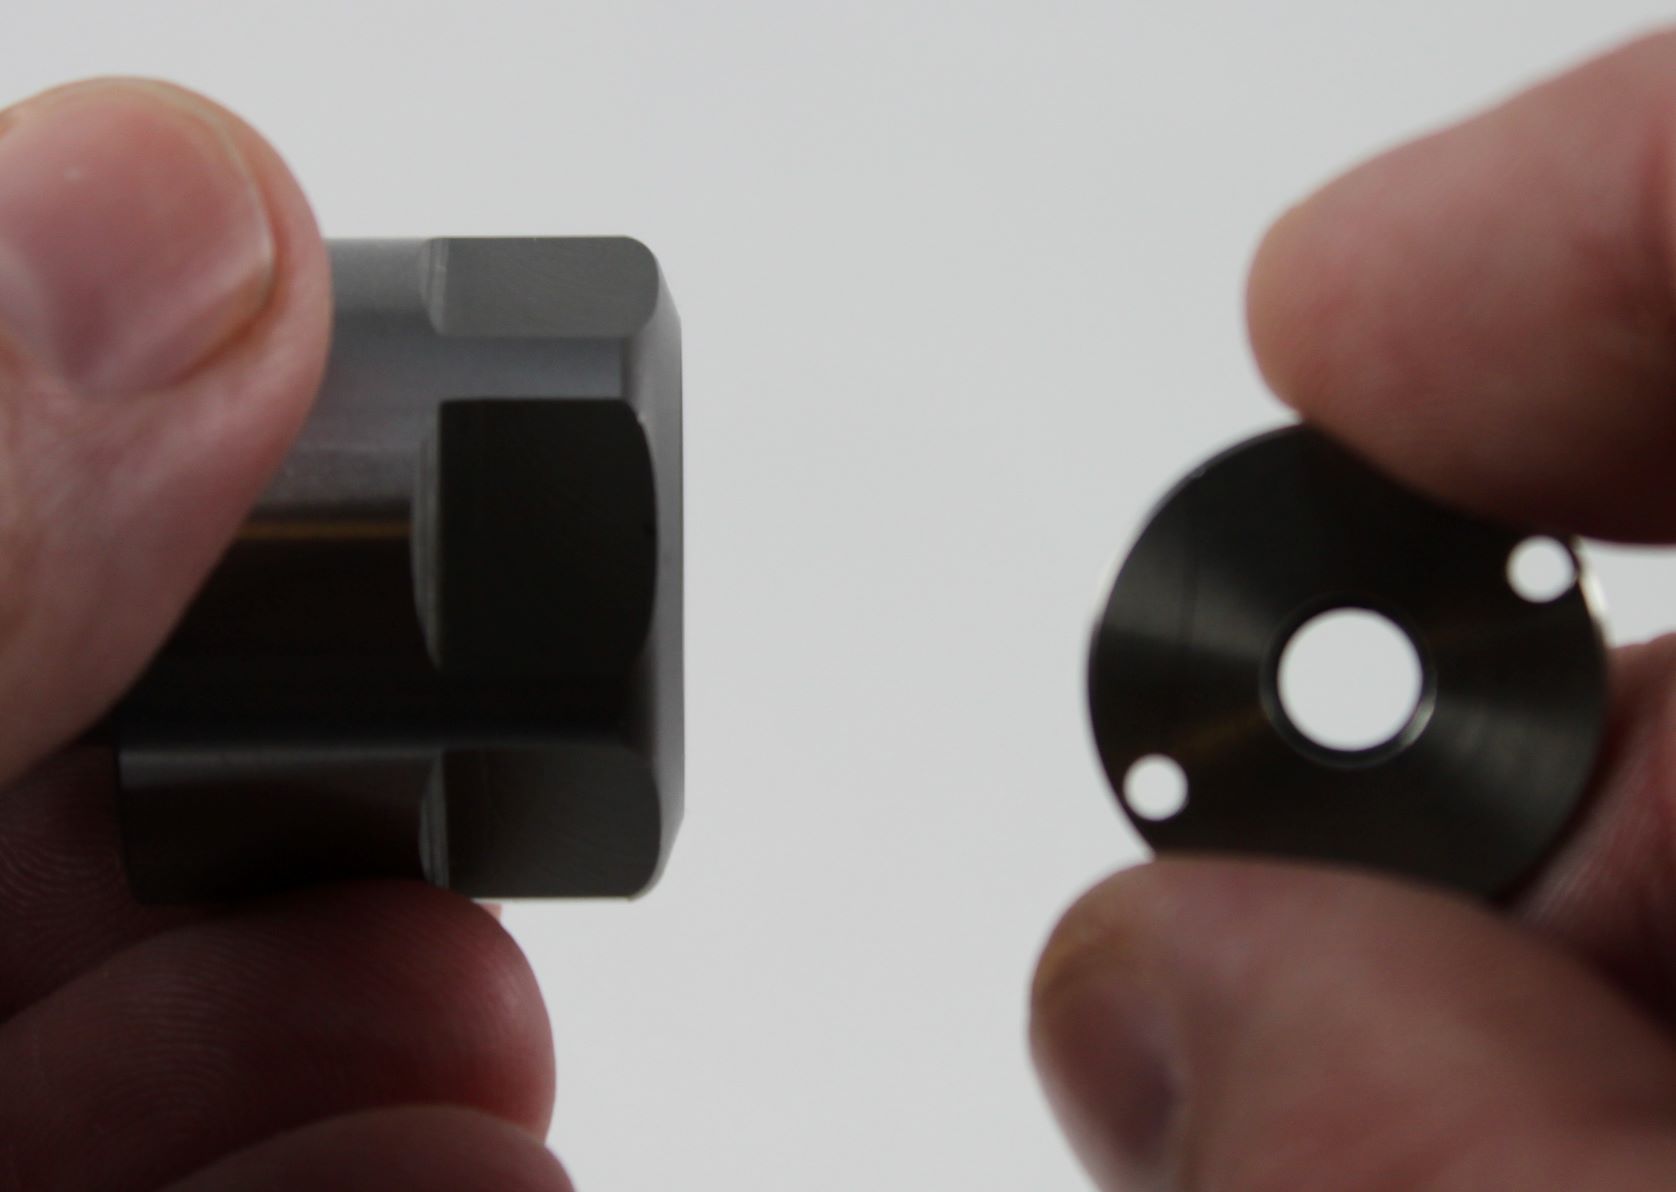
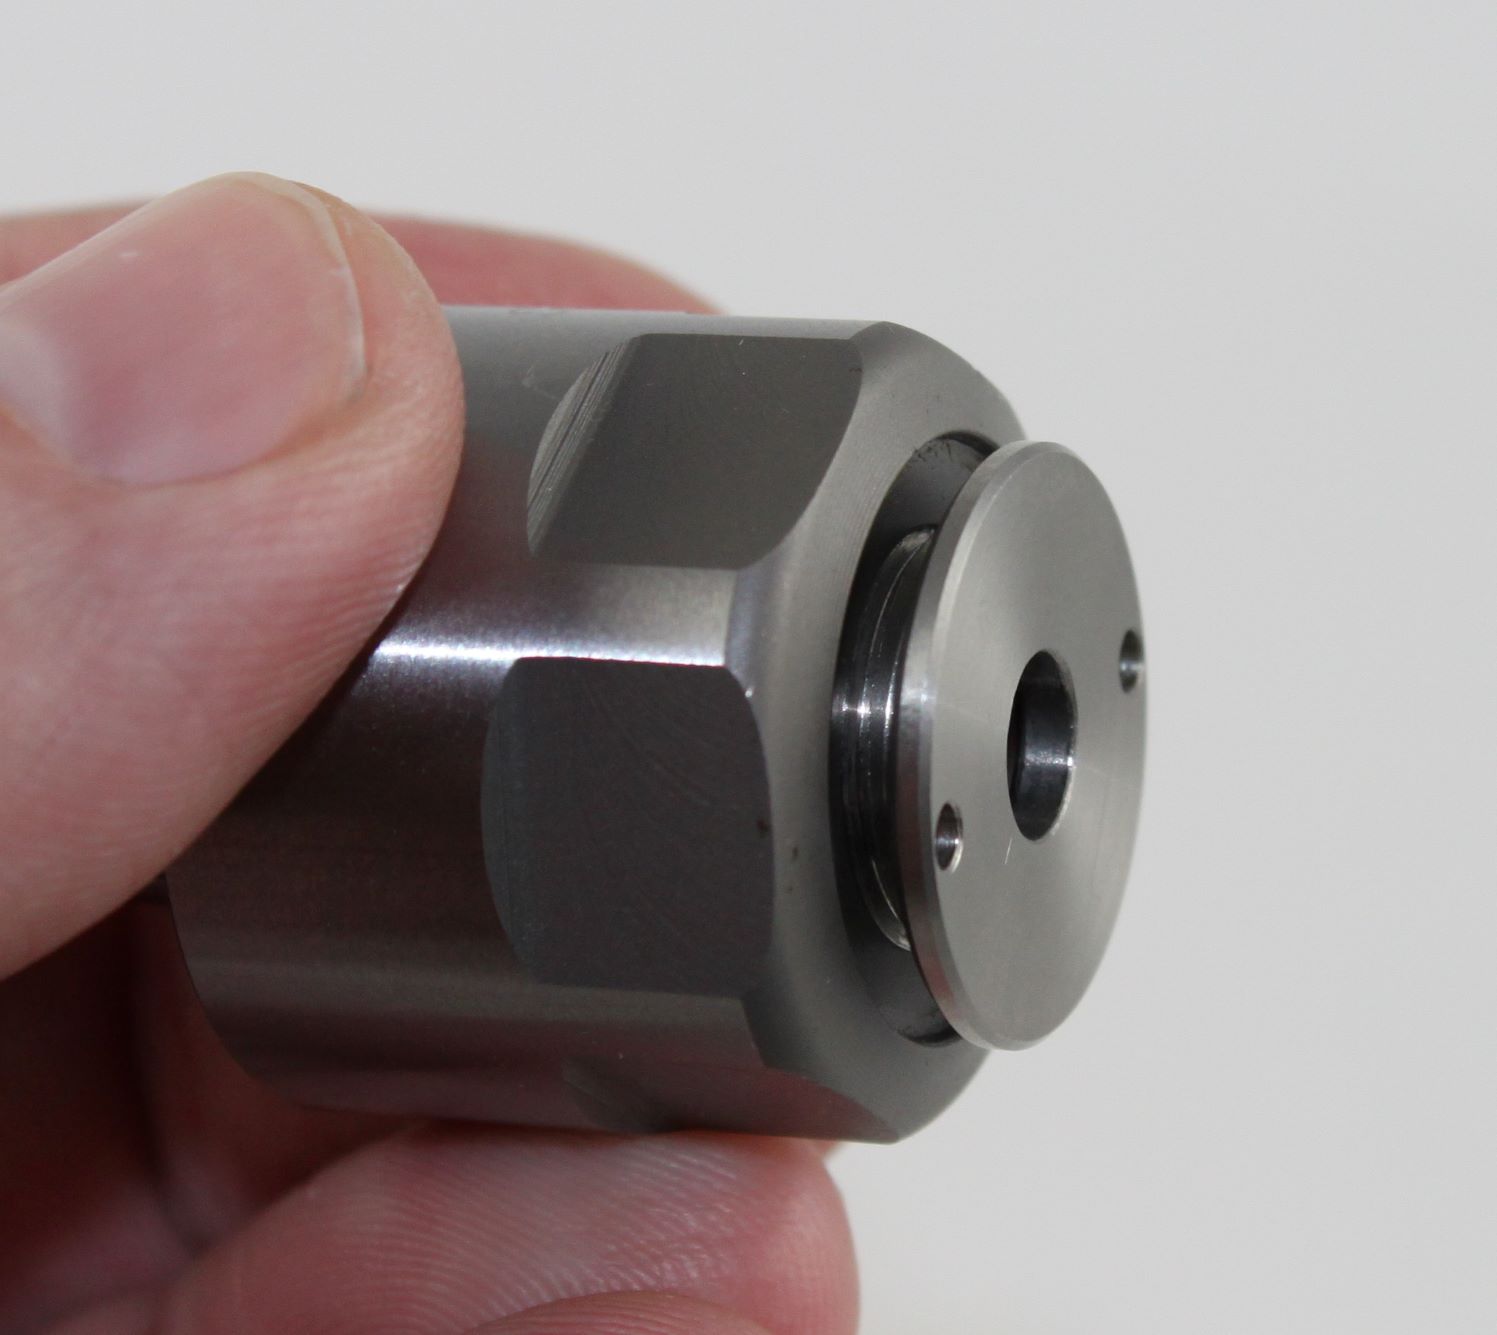
- Thread the coolant cap into the nut. Do not tighten it; leave the cap loose.
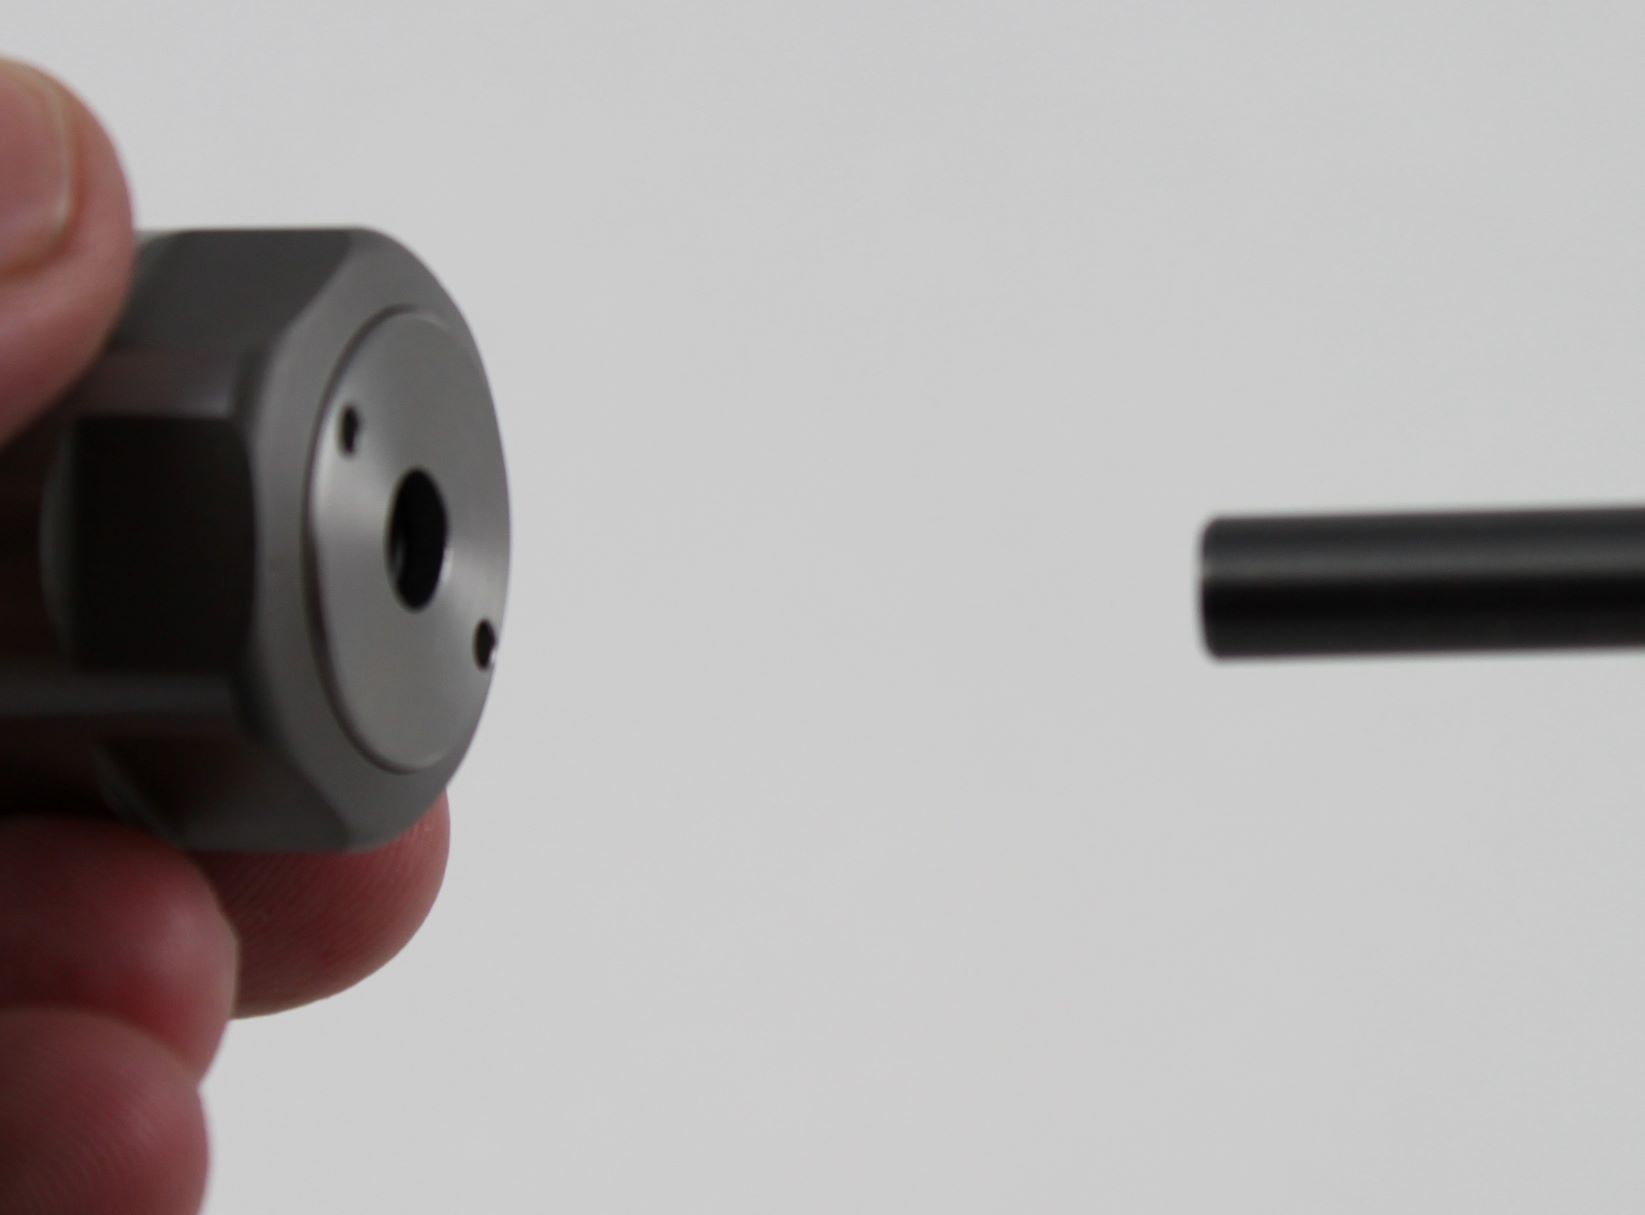
- Insert the cutting tool with the seal engaged on the round portion of the shank.
- Snug the cap.
- Insert the assembly into the collet chuck and tighten according to the instructions.
- Do not overtighten.
Using Coolant Caps with Taps & Short Shank Cutting Tools
Coolant caps can seal taps for high-pressure coolant-through operations. Success depends on the tap length and the flute lengths ground into the tap.
Using Coolant Caps
The coolant cap will seal against the cutting tool shank if at least 1/4 in. (6 mm) of shank extends beyond the collet.
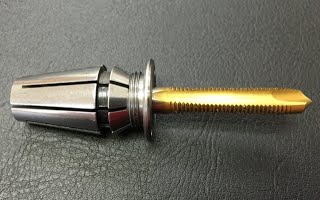
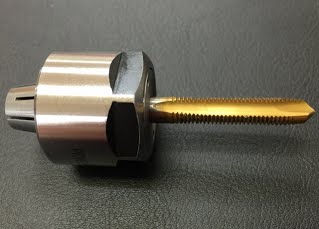
This position allows the cap's O-ring to seal against the shank.
Our research found that tap manufacturers use many different shank and square combinations, and relief-grind lengths can vary between batches. This makes sealing taps more difficult.
Long tap shanks are best for using coolant caps with high-pressure coolant, up to 750 psi.
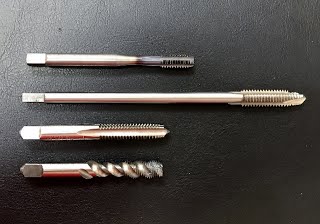
When Coolant Caps Do Not Work
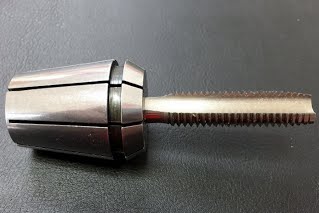
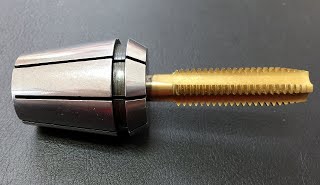
Both taps below are standard 1/2-inch hand taps. In the top image, the flute extends into the collet. In the bottom image, the flute stops just before the front of the collet, leaving no surface for the seal to engage.
These flute designs affect both coolant caps and some sealed tap collets.